How Can I Press DTF Transfers?
You’ve got your Direct-to-Film (DTF) transfers ready—now it’s time to bring those designs to life. Pressing your transfers properly is key to getting vibrant, durable prints that last wash after wash. Whether you’re just starting out or looking to refine your technique, this guide will walk you through the pressing process so you can get professional results every time.
Step 0: Get Quality DTF Transfers You Can Trust 🎨
Before you even fire up your heat press, make sure you have high-quality DTF transfers to work with. Grab yours at DTF Super Print. We specialize in professionally printed ready-to-press transfers made with premium inks and films—designed for vibrant colors and long-lasting wear.
Starting with great transfers is the foundation for great results. No shortcuts here!

DTF Transfer By Size Custom Sheet Prints
Order custom DTF transfer sheets by size for vibrant, long-lasting prints on any fabric. Perfect for t-shirts, hoodies, tote bags, and more. Easy heat press application, no weeding required. Upload your design today!
Step 1: Preheat Your Heat Press 🔥
Set your heat press to 320°F (160°C). This temperature is ideal for most DTF transfers, ensuring the design adheres properly without damaging the fabric.
Make sure to wait until the press reaches the right temperature before you begin—consistent heat is crucial for a great print.
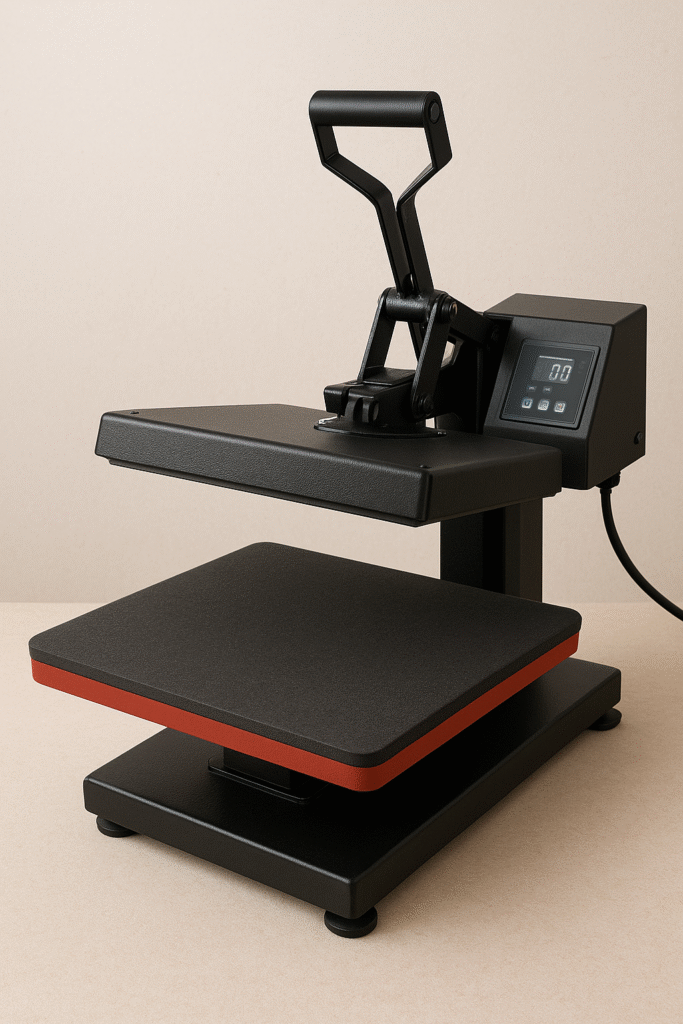
Step 2: Prepare Your Garment 👕
Lay your garment flat on the heat press platen and smooth out any wrinkles or folds by pre-pressing it for 3-5 seconds. These can cause uneven transfers or spots where the design doesn’t stick well.
For thicker fabrics like hoodies or sweatshirts, you may need to press a bit longer to ensure full adhesion.
Step 3: Position Your Transfer 🎯
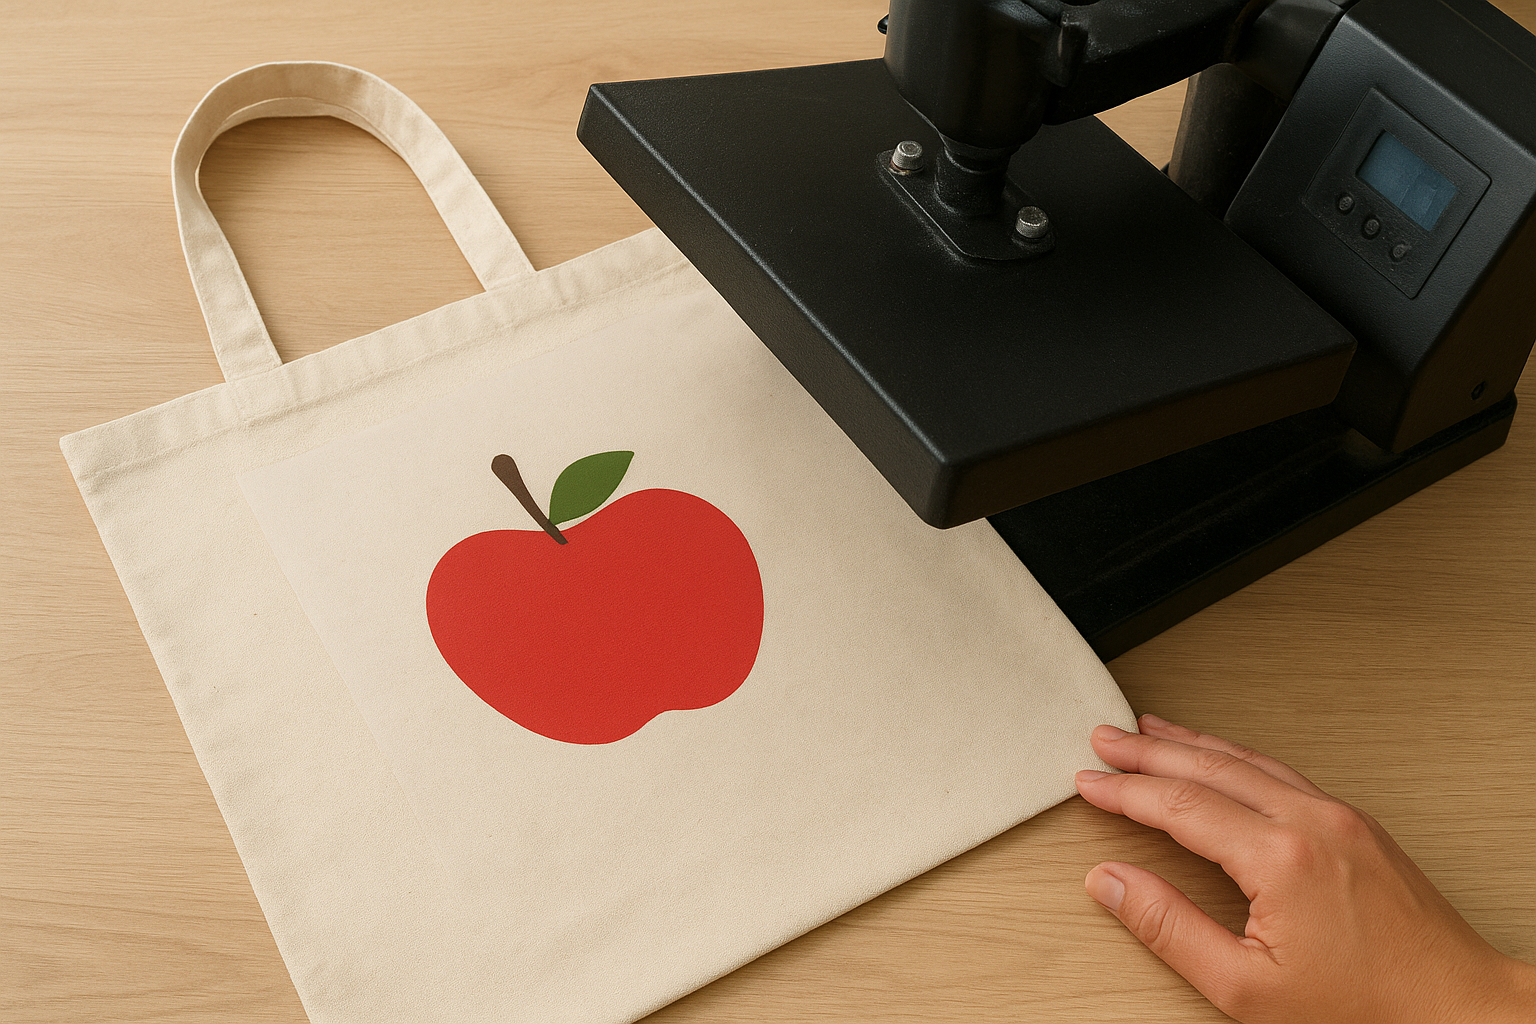
Place the transfer printed side down on the garment, exactly where you want your design to appear.
Cover the transfer with a Teflon sheet or parchment paper to protect both your print and your heat press.
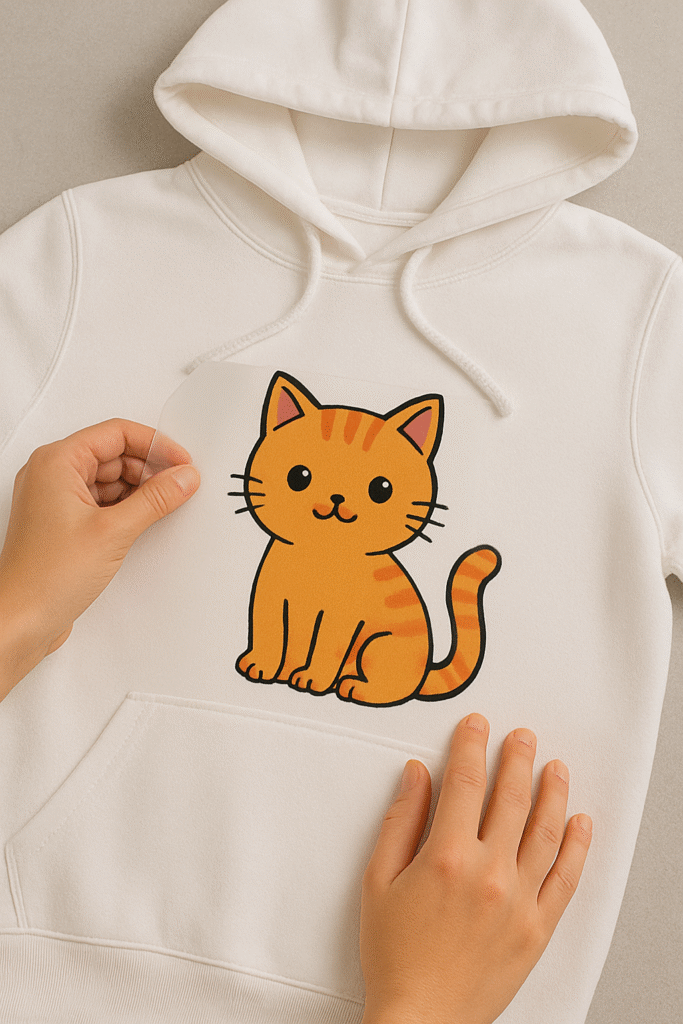
Step 4: Press with Care ⏱️
Lower the heat press and apply medium to firm pressure for about 15 seconds. Keep everything steady—moving the garment during pressing can blur the design.
Step 5: Peel the Transfer Sheet Carefully
Peel the transfer film off immediately while it’s still warm (this is called a hot peel). This helps the design stick properly to the fabric.
If peeled too early or too late, your print may crack or peel later.
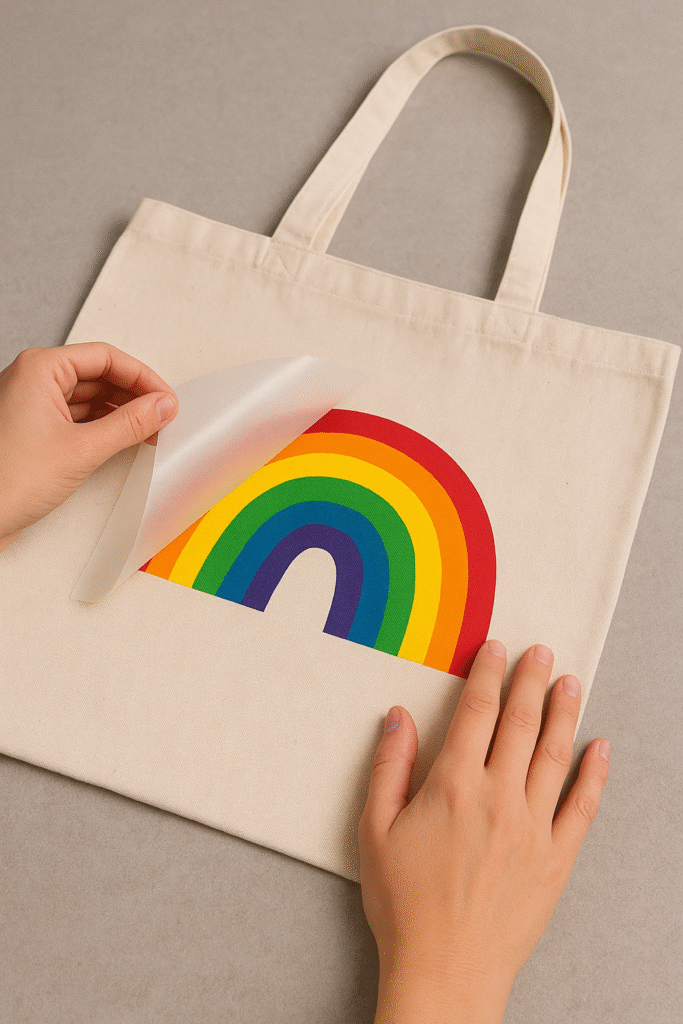
NOTE: Most DTF Transfers are hot peel. Although some may be cold peel so always check for specifc details with your transfer’s instructions.
Step 6: Finish with a Quick Second Press 🔄
For extra durability, cover the print again with the Teflon sheet and press for another 5-10 seconds. This seals the design and makes it more wash-resistant.
Step 7: You’re Done! 🎉
Once you’ve finished pressing and peeling, your custom garment is ready to wear—or sell! Enjoy vibrant, durable prints that stand up to washing and everyday use.
Great job—you’ve just mastered pressing DTF transfers like a pro! 👕🔥
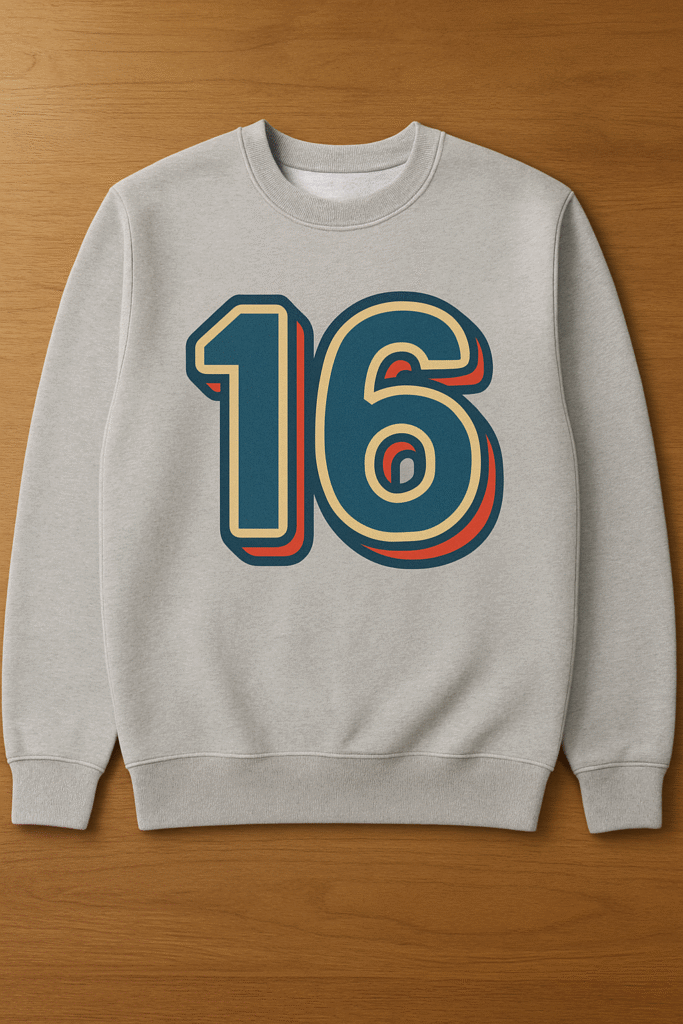
Pro Tips for Perfect Pressing ✨
Preheat your garment for 3-5 seconds before applying the transfer to remove moisture—this prevents bubbles and ensures better adhesion.
Test pressure on a scrap fabric first. Too light and the design won’t stick; too heavy and you risk damaging the print.
Don’t press longer than 20 seconds to avoid fading or melting the design.
Wash your finished garment inside out with cold water and mild detergent to keep your print looking fresh longer.
Final Thoughts
Pressing DTF transfers might seem straightforward, but getting the heat, pressure, and timing right makes all the difference. Follow these steps and you’ll get vibrant, durable prints that you can be proud of.
Have questions or want to share your own pressing tips? Drop a comment below or contact us. We’re here to help! 👋
Related Products
-
Build Your UV Sticker Using Images By Size
From: $0.01 -
DTF Transfer By Size Custom Sheet Prints
From: $0.01 -
DTF Transfer Gang Sheet – Create Your Own Design Gangsheet
From: $1.89 -
DTF Transfer Sheet Custom Upload Image by Size
From: $0.01



Leave a Reply