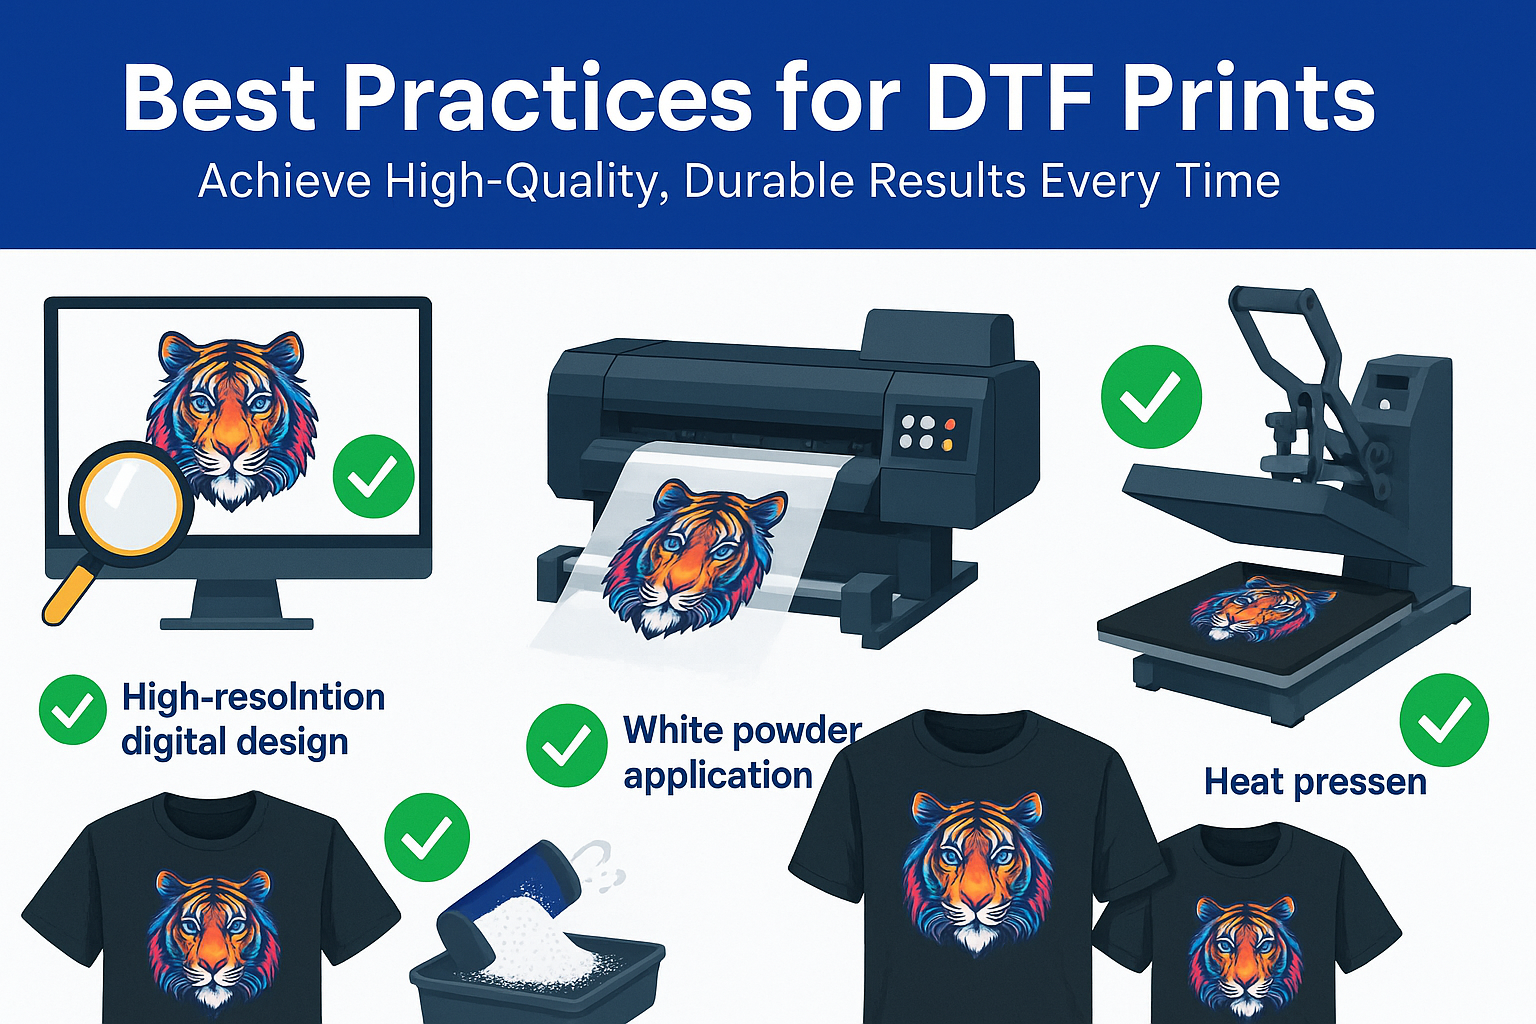
Direct-to-Film (DTF) printing has quickly become a go-to method for creating vibrant, versatile, and long-lasting designs on a wide range of fabrics. But as with any printing technology, success depends on technique.
Whether you’re new to DTF or looking to perfect your process, following key best practices can help you maximize print quality, reduce waste, and keep your customers coming back for more.
In this guide, we’ll cover the most important best practices for DTF printing—from design preparation to post-pressing tips—so you can get the most out of every transfer.
Start with High-Resolution Artwork
Why It Matters:
Your DTF print is only as good as the digital file behind it. Blurry, low-resolution graphics will produce dull, pixelated results—no matter how good your equipment or materials are.
Best Practice:
- Use 300 DPI resolution or higher
- Convert fonts to outlines (especially if you’re sharing files across computers)
- Keep designs in CMYK color mode
- Avoid stretching images or using compressed JPEGs with artifacts
Pro tip: Vector graphics (.AI, .EPS, .SVG) are ideal, especially for logos and typography.
Use Quality RIP Software and Color Profiles
Why It Matters:
RIP (Raster Image Processing) software translates your artwork into printer-readable instructions. Good RIP settings can mean the difference between a vibrant print and a washed-out one.
Best Practice:
- Use the RIP software recommended by your printer manufacturer
- Calibrate and use the right ICC color profile for your DTF inks
- Adjust white underbase strength for optimal color pop
- Print test swatches regularly to fine-tune your color accuracy
Invest in Reliable DTF Supplies
Why It Matters:
The quality of your film, ink, and powder directly impacts the durability, color, and flexibility of the final print.
Best Practice:
- Use PET film with proper thickness and anti-static coating
- Choose vibrant, low-clogging DTF inks (especially for white ink)
- Opt for non-toxic hot-melt powder that bonds evenly and cures clean
👉 At DTFSuperprint.com, we provide premium-grade supplies trusted by thousands of print professionals nationwide.
Optimize Your Print Settings
Why It Matters:
Even with great materials, incorrect print settings can lead to banding, ink pooling, or weak adhesion.
Best Practice:
- Run nozzle checks daily to avoid clogged heads
- Adjust ink limits to prevent oversaturation (especially on dark colors)
- Use the right print mode (720×1440 or 1440×1440 for high detail)
- Slow down print speed slightly for better ink laydown
Apply Powder Evenly and Thoroughly
Why It Matters:
The hot-melt powder is what binds your design to the fabric. Inconsistent or uneven application can cause cracking, lifting, or poor adhesion.
Best Practice:
- Use a manual shaker or automatic powder shaker for even distribution
- Make sure entire printed area is fully coated, especially the edges
- Shake off excess powder to prevent buildup and mess
- Apply powder in a clean, dust-free environment
Cure the Powder Properly
Why It Matters:
Undercured or overcured powder won’t adhere correctly to garments and may lead to peeling after washing.
Best Practice:
- Cure at 320°F (160°C) for 2–3 minutes in a heat press or curing oven
- Use a non-contact curing method (like hovering the press) to avoid smudging
- Look for a slightly matte, crystalline finish—not sticky or overly glossy
Pro tip: Use an infrared thermometer or timer to ensure consistent curing.
Prepare the Garment Correctly
Why It Matters:
Moisture, lint, and static on fabric can interfere with adhesion and cause uneven results.
Best Practice:
- Pre-press the garment for 5–10 seconds to remove moisture and wrinkles
- Use a lint roller to clean the pressing area
- Avoid using fabric softeners or coatings that repel adhesive
Apply Transfers with Precision
Why It Matters:
Proper pressure, heat, and timing are critical for a long-lasting transfer.
Best Practice:
- Press at 300–325°F (150–165°C) for 10–15 seconds
- Use medium to firm pressure (around 60 PSI)
- Ensure even heat distribution across the platen
- Use Teflon sheets or parchment paper to prevent scorching
Know When to Cold Peel vs. Hot Peel
Why It Matters:
Peeling at the wrong time can cause your design to lift, crack, or stretch.
Best Practice:
- For most DTF transfers, cold peel is recommended (let cool completely)
- Some films allow warm or hot peel, but always follow manufacturer instructions
- Peel slowly and evenly, starting from one corner
Post-Press for Extra Durability
Why It Matters:
A quick post-press can help lock in the design and enhance wash resistance.
Best Practice:
- Cover the transferred design with parchment or a Teflon sheet
- Press again for 5–10 seconds at the same temperature
- Use light pressure to avoid flattening the print texture
Perform Regular Maintenance on Your Equipment
Why It Matters:
Dirty print heads, clogged nozzles, or malfunctioning heaters can quickly ruin jobs.
Best Practice:
- Clean print heads and caps daily or after each job
- Keep your powdering and curing area dust-free
- Check for firmware updates and software patches regularly
- Run a deep cleaning cycle if colors appear faint or streaky
Follow Proper Storage Guidelines
Why It Matters:
DTF films, inks, and powder are sensitive to humidity, temperature, and light exposure.
Best Practice:
- Store DTF film in a cool, dry place, away from sunlight
- Keep ink bottles sealed tightly and shake before use
- Avoid humid environments that could cause powder clumping
Wash and Care Recommendations for Customers
Why It Matters:
Even a perfect transfer can fail if the garment is washed improperly.
Best Practice:
Include these care tips with every order:
- Wash inside out in cold water
- Avoid bleach or fabric softener
- Tumble dry low or hang dry
- Do not iron directly over the print
This improves customer satisfaction and reduces complaints or returns.
Bonus: Troubleshooting Common DTF Issues
| Problem | Likely Cause | Solution |
| Cracking print | Under-curing, poor adhesion | Adjust cure time, ensure firm press |
| Faded colors | Low ink output, poor RIP settings | Calibrate printer, check ink flow |
| Design lifting | Uneven powder, cold pressing | Use proper peel timing, full powder coverage |
| Blurry edges | Ink bleeding, low-quality film | Use high-grade PET film, adjust ink limits |
DTF printing offers unmatched versatility and convenience in custom garment production—but it also requires precision and discipline to consistently produce high-quality results.
By following these best practices, you’ll not only improve your print quality and efficiency, but also build a reputation for professionalism and durability that keeps your customers coming back.
At DTFSuperprint.com, we’re here to help you succeed with:
- Top-tier PET films
- Durable DTF inks
- Reliable hot-melt powders
- Expert support and printing resources
Shop our selection today and bring every design to life with confidence.

