UV DTF transfers are quickly becoming a go-to solution for customizing hard surfaces like tumblers, glass, wood, plastic, and even metal. Unlike traditional DTF transfers that require heat, UV DTF (Ultra Violet Direct to Film) transfers are peel-and-stick and cured with UV light — no heat press needed!
In this complete, beginner-friendly guide, you’ll learn how to apply UV DTF transfers correctly to get professional, long-lasting results every time.
What Are UV DTF Transfers?
UV DTF transfers are printed designs made with UV ink, sandwiched between two adhesive layers. They’re designed for use on smooth, hard surfaces and are perfect for small business owners, crafters, and custom product sellers.
✅ Key Benefits:
- No heat press required
- Super vibrant, full-color prints
- Long-lasting and waterproof
- Works on curved and flat surfaces
Which Surfaces Work Best with UV DTF Transfers?
UV DTF transfers adhere well to hard, smooth surfaces like those of:
- Tumblers and mugs
- Acrylic keychains
- Phone cases
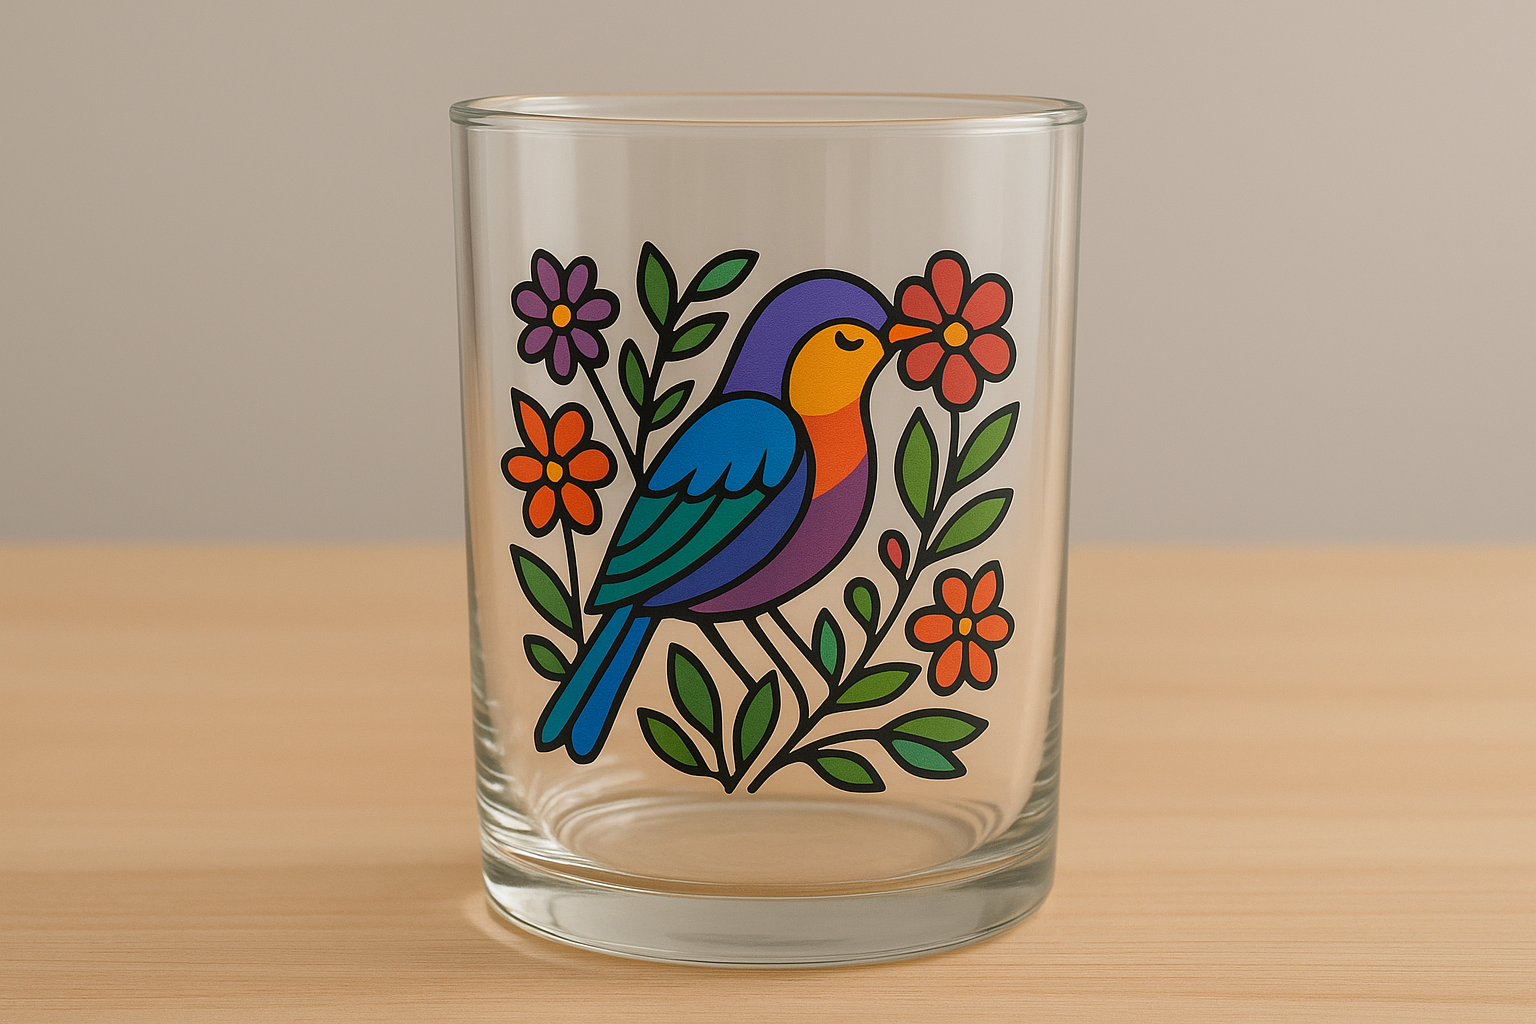
- Glass and mirrors
- Wood signs
- Plastic containers
- Metal items and more
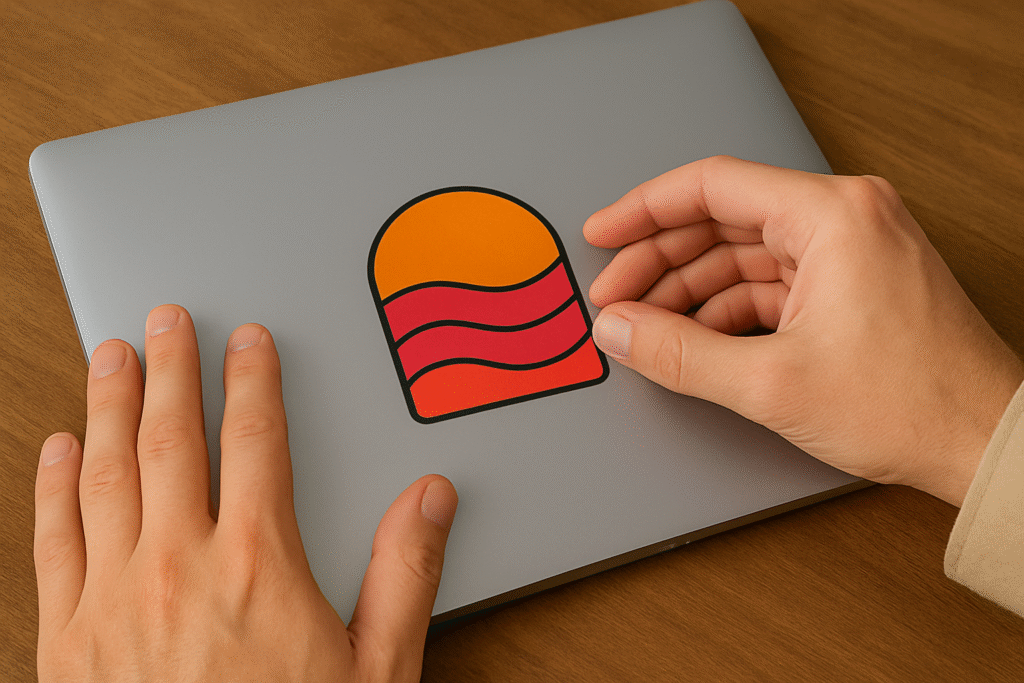
Step-by-Step: How to Apply UV DTF Transfers
Step 1: Clean the Surface Thoroughly
Use rubbing alcohol or a surface cleaner to remove any dust, oil, or residue. UV DTF transfers adhere best to clean, dry, smooth surfaces. If you don’t have rubbing alcohol or a surface cleaner, at least use a microfiber cloth to wipe the area beforehand.
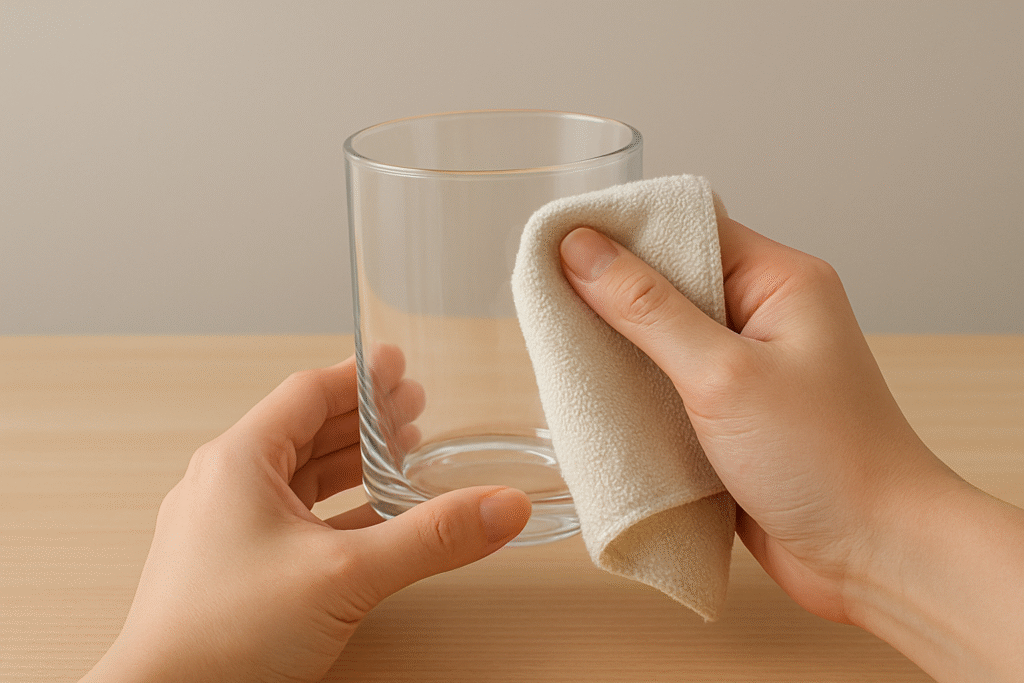
💡 Tip: Avoid glass cleaners with added ammonia.
Step 2: Peel the White Backing Layer
Gently peel off the white backing sheet — this will expose the adhesive side of the transfer.
⚠️ Be careful not to touch the sticky side with your fingers. Oils from your hands can affect adhesion.
Step 3: Position the Transfer
Line up your transfer on the object exactly where you want it. Once it touches the surface, it may be hard to reposition, so take your time!
🧰 Use masking tape as a hinge if you need help aligning it.
Step 4: Press and Rub Firmly
Use a squeegee, scraper, or credit card to press down the design, removing any bubbles. Work from the center out toward the edges.
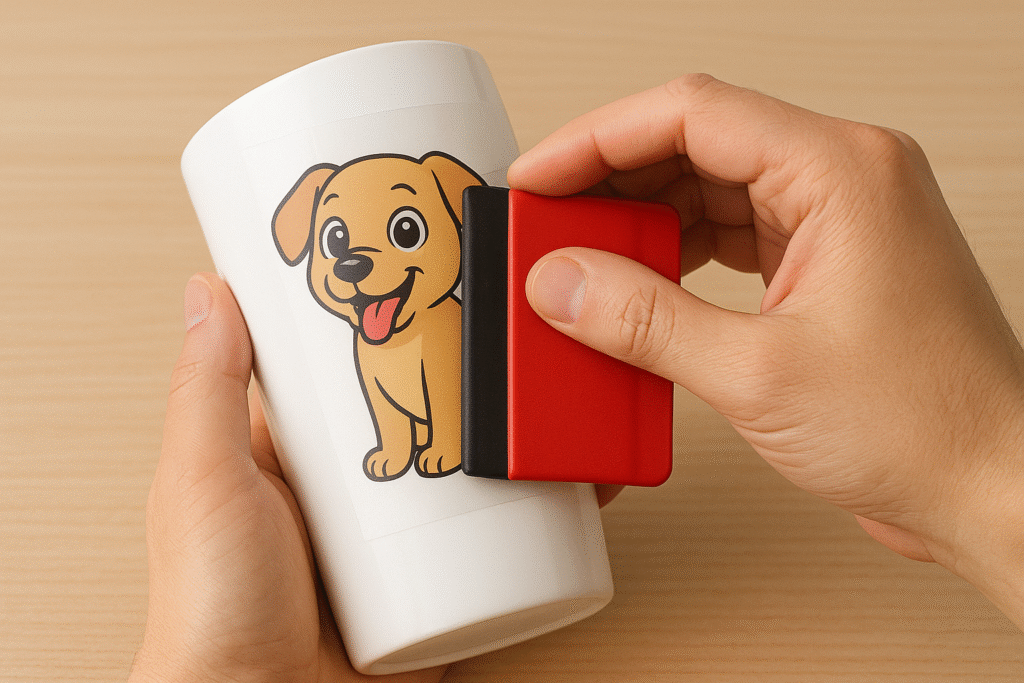
✅ Apply even pressure to make sure every part of the design adheres.
Step 5: Peel Off the Clear Top Film
Slowly and carefully peel off the clear top film at a sharp angle. If part of the design lifts, lay it back down and rub it again before peeling.
Step 6: That’s It – You’re Done!
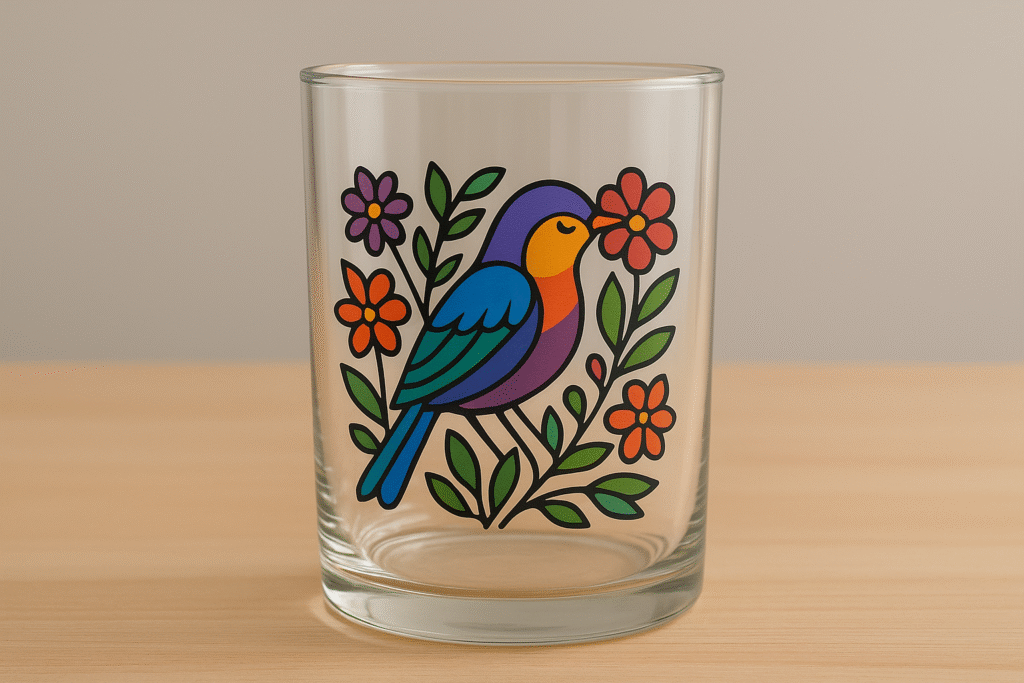
Once you’ve peeled off the clear film, your design is fully applied and ready to show off. No heat press, no mess — just clean, vibrant results. Go ahead and admire your work (you earned it). ✅
FAQs About UV DTF Transfers
Learning how to apply UV DTF transfers is simple once you know the steps. With the right technique and a bit of patience, you can turn ordinary products into vibrant, customized creations that look professional and last a long time.
Whether you’re customizing tumblers for your store or adding your logo to promotional items, UV DTF is an easy and effective solution.
Need help or want to leave a message? Contact us or leave a reply below.
Related Products
Curious for more?
Check Out Some Of Our Other Blogs:



Leave a Reply