A Step-by-Step Guide to Printing on Fabric with DTF Technology
Digital textile printing has evolved rapidly—and Direct to Film (DTF) printing is leading the charge. Whether you’re a custom apparel business, a print-on-demand brand, or a DIY enthusiast, DTF printing offers vibrant, long-lasting results on a wide range of fabrics.
In this guide, we’ll walk you through the full process of how to print digital textiles with DTF printing, including expert tips and best practices to ensure top-tier results every time.
What Is DTF (Direct to Film) Printing?
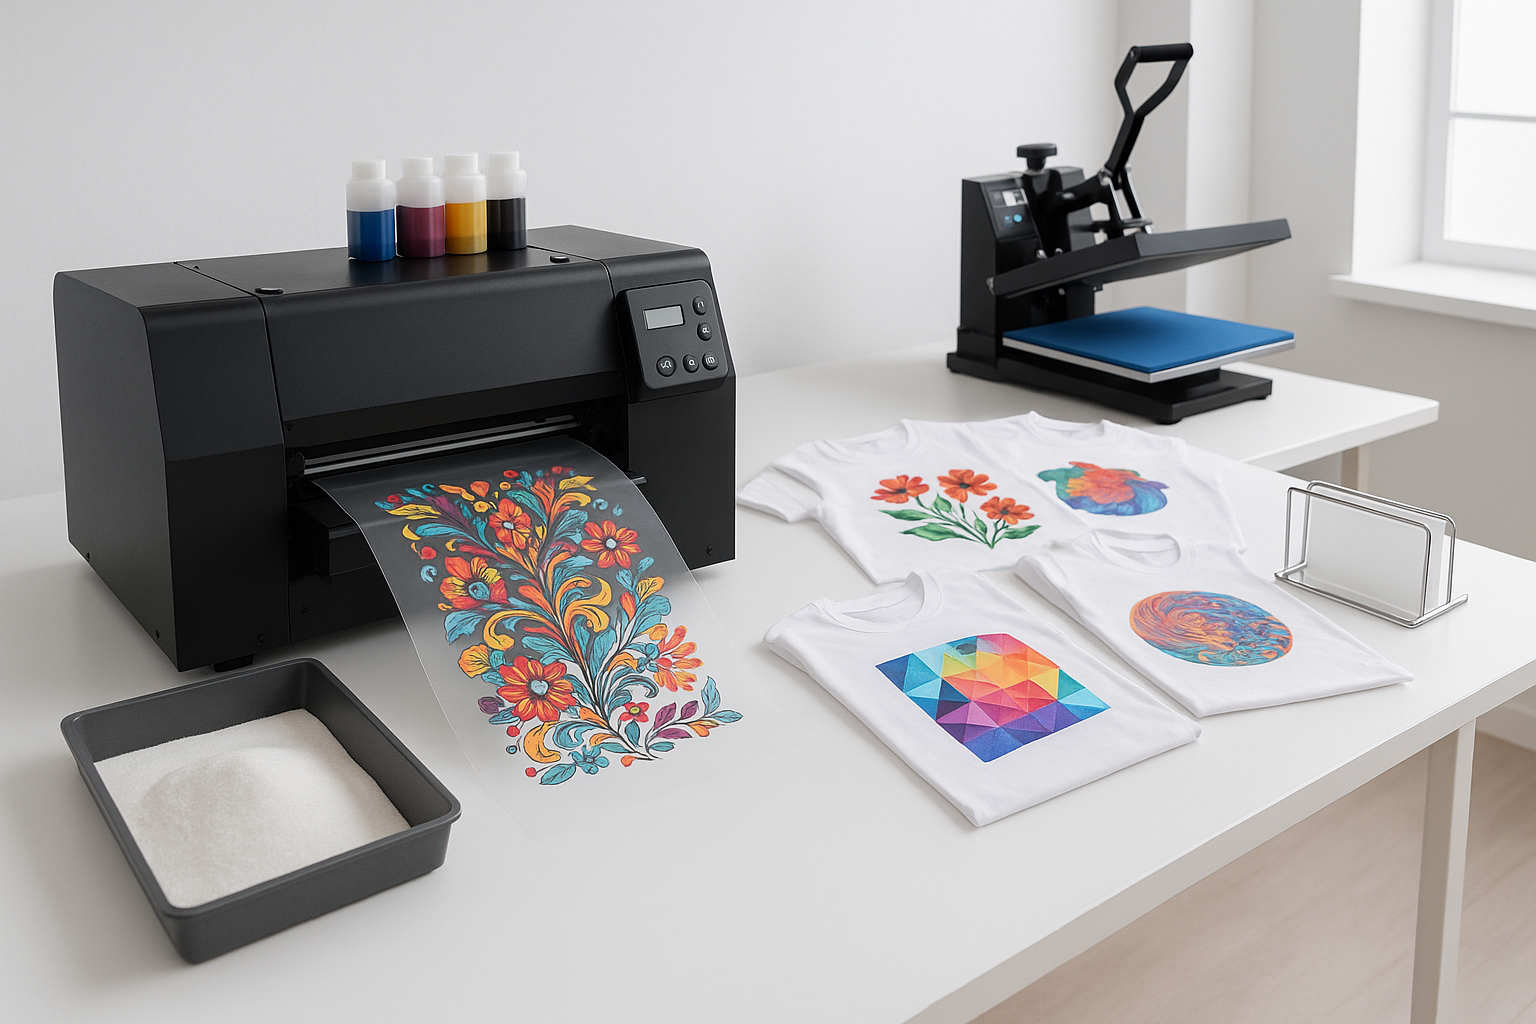
DTF printing is a modern textile decoration process where designs are printed directly onto a specialized PET film, covered with adhesive powder, cured, and then heat-transferred onto fabric.
Unlike traditional DTG (Direct to Garment) printing, DTF doesn’t require pre-treating garments and works beautifully on both light and dark fabrics, including cotton, polyester, rayon, fleece, and blends.
Why Use DTF Printing for Digital Textiles?
Here’s what makes DTF printing a standout solution:
- ✅ Works on a wide variety of textiles and garment types
- ✅ No pre-treatment required
- ✅ Strong, flexible prints with great wash durability
- ✅ Produces vibrant, full-color images with fine detail
- ✅ Ideal for small runs, custom orders, and complex designs
Materials & Equipment Needed
Before getting started, make sure you have the following:
- DTF Printer – With CMYK + White ink support
- PET DTF Film – Cold or hot peel
- DTF Pigment Inks – CMYK and white ink
- Hot Melt Adhesive Powder – For binding the print to fabric
- Heat Press Machine – For transferring the image to textile
- RIP Software – For handling ink settings, white underbase, and mirroring
Optional but helpful:
- Curing Oven or Heat Gun – For melting the adhesive powder
- Lint Roller – To clean garments before pressing
Step-by-Step: How to Print Digital Textiles with DTF
🖌️ Step 1: Prepare Your Artwork
Your final print is only as good as your design file.
Tips:
- Set file resolution to 300 DPI
- Use CMYK color mode
- Ensure edges are sharp, colors are rich
- Mirror the image before printing (especially for text)
- Save in formats like PNG, PSD, or TIFF for optimal quality
🖨️ Step 2: Print the Design on PET Film
Load your PET film (matte side up) into the printer.
Printing Process:
- First, the printer lays down the colored design (CMYK)
- Then, a white underbase layer is printed over the color for opacity
- RIP software manages color profiling, white ink density, and image placement
Pro Tip: Use high-quality PET films with anti-static coating for better ink adhesion and durability.
🧂 Step 3: Apply the Adhesive Powder
Immediately after printing, while the ink is still wet:
- Sprinkle hot melt adhesive powder evenly across the film
- Shake off excess powder
- Make sure the entire design is evenly coated — no bare spots
Use fine-grain adhesive powder for smooth transfers and better flexibility on garments.
🔥 Step 4: Cure the Powder
Now it’s time to melt the adhesive powder so it’s ready to transfer.
Curing Options:
- Curing Oven: 300–320°F (150–160°C) for 2–3 minutes
- Heat Press (hover mode): Hover ½ inch above the film for 60–90 seconds
- Heat Gun: Use on small batches with caution and consistency
When done correctly, the adhesive will turn into a semi-glossy, slightly rubbery texture.
👕 Step 5: Transfer the Design to Fabric
Now you’re ready to apply the design to your textile.
- Pre-press the fabric for 5 seconds to remove wrinkles and moisture
- Place the PET film (design side down) onto the garment
- Press using these settings:
- Temperature: 300–325°F (150–160°C)
- Time: 10–15 seconds
- Pressure: Medium to firm
- Peel the film:
- Cold Peel: Wait until completely cool
- Hot Peel: Peel immediately, but carefully
- Optional Final Press: Repress with a Teflon sheet or parchment paper for 5–10 seconds for added durability and finish.
Fabric Compatibility: What Textiles Work Best?
One of the best things about DTF is its versatility across fabric types. Here’s how it performs:
| Fabric Type | Compatibility | Notes |
| Cotton | ✅ Excellent | Strong adhesion and vibrant colors |
| Polyester | ✅ Excellent | No dye migration like sublimation |
| Cotton-Poly Blends | ✅ Excellent | Great for hoodies, tees, joggers |
| Nylon | ⚠️ Varies | Needs testing—powder may not bond as well |
| Fleece, Denim, Canvas | ✅ Good | May need higher pressure for full adhesion |
Common Mistakes to Avoid
- Skipping the mirror step – Always mirror your design before printing
- Too little or too much adhesive powder – Can result in poor bonding or stiff prints
- Over-curing or under-curing – Affects both adhesion and color vibrancy
- Wrong heat press settings – Leads to cracking, ghosting, or weak transfers
- Not testing on new fabrics – Every material behaves differently—test first!
Tips for Pro Results Every Time
✅ Use high-quality inks and powder from reliable suppliers
✅ Maintain your printer regularly—clean printheads, shake white ink
✅ Store your DTF films flat in a cool, dry place
✅ Test new garment types before going into full production
✅ Repress finished garments for a smoother, longer-lasting print
✅ Keep your work area clean to avoid lint or dust on wet ink
DTF printing opens up a world of possibilities for anyone in the custom garment or textile decoration space. With no need for pretreatment, compatibility across countless fabric types, and the ability to produce crisp, colorful designs quickly, DTF is the future of digital textile printing.
Whether you’re just getting started or scaling up production, mastering each step—from artwork setup to post-press finishing—will ensure you deliver top-quality prints your customers will love.
Need DTF Supplies You Can Trust?
At DTFSuperPrint.com, we offer premium PET films, vibrant DTF inks, top-tier adhesive powders, and everything else you need for flawless digital textile printing.
Explore our DTF products and take your prints to the next level—one vibrant shirt at a time.
Happy Printing!
Your success is our print mission.

